Physical Address
304 North Cardinal St.
Dorchester Center, MA 02124
Physical Address
304 North Cardinal St.
Dorchester Center, MA 02124
Imagine creating a Canva design that doesn’t just catch the eye but also tugs at the heartstrings with perfectly synchronized music. While Canva’s built-in music library offers decent options, incorporating tracks from Apple Music can take your project to the next level. Whether you’re an influencer spicing up Instagram posts or a content creator crafting mesmerizing YouTube videos, Apple Music’s vast collection opens up creative possibilities.
However, blending Apple Music with Canva isn’t as simple as dragging and dropping a song into your project. Apple Music’s DRM (Digital Rights Management) protection makes direct use tricky. But fear not! With the right tools and a bit of effort, you can seamlessly integrate Apple Music tracks into your designs. In this guide, we’ll show you how to do just that while ensuring your projects remain creative and compliant.
Apple Music, despite being a popular choice for streaming and downloading music, presents a challenge when trying to use its tracks in design tools like Canva. Apple Music files are protected by Digital Rights Management (DRM). Even though you’ve downloaded your favorite songs, they are saved in M4P format, which Canva doesn’t support. Instead, Canva requires audio files to be in more flexible formats, such as MP3 or WAV. That’s why you need to convert Apple Music tracks into a compatible format.
Let’s clear up a common misconception: even if you’ve downloaded songs from Apple Music, you can’t use them directly in Canva. Why? Because Apple Music saves its tracks in an M4P format, a DRM-protected file type that’s incompatible with Canva’s supported formats like MP3 or WAV.
But where there’s a will, there’s a way. By converting Apple Music tracks into a Canva-friendly format, you can overcome this hurdle.
While it takes a few extra steps, the flexibility it offers makes it well worth adding Apple Music to your Canva projects.
Step 1: Select Apple Music Tracks
Launch any Apple Music Converter on your computer. Open the iTunes app and navigate to the Music tab then browse your library and drag the desired Apple Music tracks into the converter’s interface.
Step 2: Adjust Output Settings
In the Apple Music Converter, find the Format button (bottom-right corner). Choose MP3, AAC, or WAV as the output format for compatibility with Canva and customize additional settings like bit rate or sample rate to match your project’s needs.
Step 3: Convert and Download
Click Convert to start the process. Once done, access your converted tracks by opening the Converted menu in the Apple Music Converter. Locate the files on your computer using the folder icon.
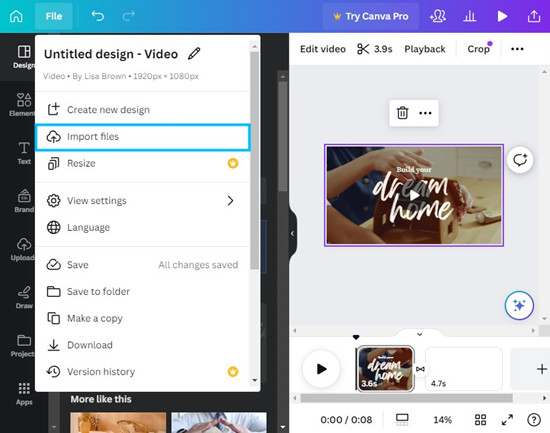
Now that you’ve converted your tracks, it’s time to upload them to Canva. Here’s how to do it, whether you’re on desktop or mobile:
Steps to Add Apple Music to Canva on Desktop:
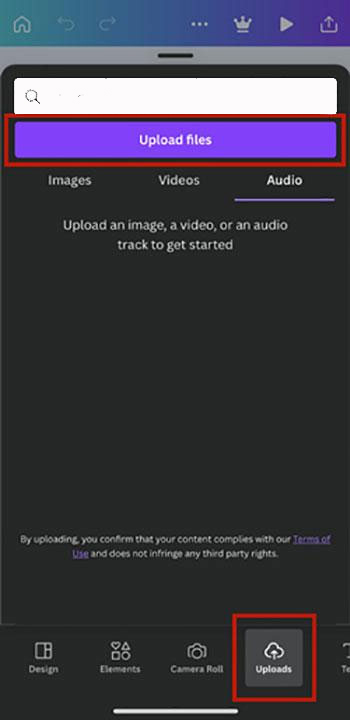
Steps to Add Music to Canva on Mobile:
While Apple Music offers a vast selection, licensing issues can sometimes make it a complicated choice—especially for commercial projects. To avoid copyright pitfalls, consider these alternatives:
Canva itself provides a collection of royalty-free tracks, making it a hassle-free option for creators. Pro users even gain access to premium tracks across various genres and moods.
Sites like Epidemic Sound, Artlist, or AudioJungle offer extensive libraries of licensed music perfect for commercial use.
Let’s walk through how to use these music options in your Canva projects:
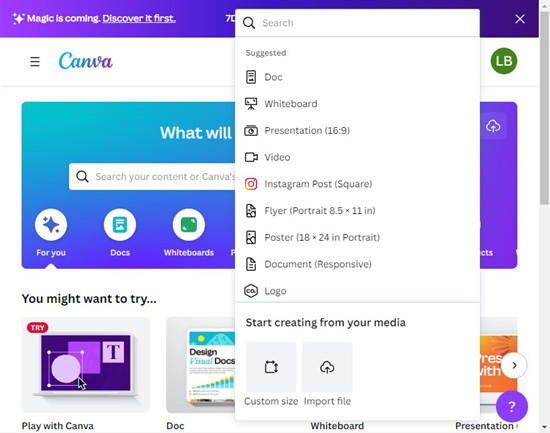
Step 1: Open Your Canva Project
Start by launching Canva on your preferred device. You can either open an existing design or create a new one from scratch by selecting a template that suits your needs. This gives you the foundation to build your masterpiece with the perfect soundtrack.
Step 2: Access the Audio Library
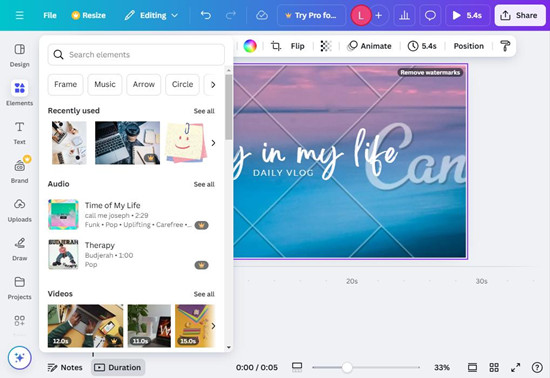
On Desktop:
On Mobile:
Step 3: Browse or Search for Music
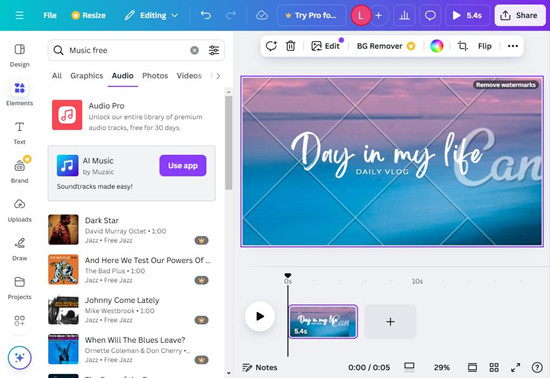
Canva’s library is organized for convenience, making it easy to find the perfect track:
Pro Tip: Most tracks displayed in the library are premium and require a Canva Pro subscription. If you’re using the free version, keep an eye out for free tracks marked with a special label.
Step 4: Add Music to Your Canva Project
Once you’ve found the perfect track:
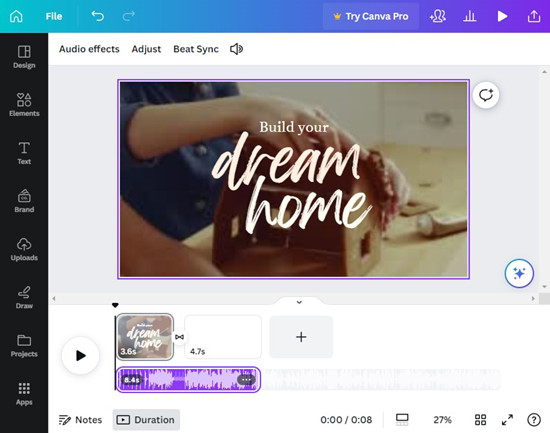
If your design includes a video, the track will appear on the timeline at the bottom of the screen. Drag the track to adjust its starting point or sync it perfectly with your visuals.
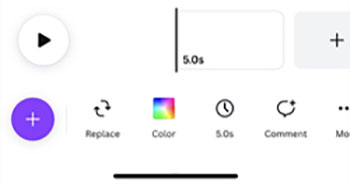
Step 5: Customize Your Audio
Use Canva’s editing tools to refine how the music integrates with your project:
Once your design is complete and the music is perfectly synced:
Choose the appropriate file format for your project:
Pro Tip: Double-check that your music complies with copyright regulations if you’re sharing your design commercially. Canva’s premium music tracks are often pre-licensed, but external music may require additional permissions.
With these steps, you’ll have a design that not only looks stunning but also sounds amazing, helping you connect with your audience on a deeper level.
Trim for Precision: Use Canva’s trimming tools to match music perfectly to your visuals.
Adjust Volume: Keep music at a balanced volume to avoid drowning out voiceovers or other elements.
Add Fade Effects: Smooth transitions with fade-in and fade-out options for a polished finish.
Use Sound Effects: Enhance your design with subtle sound effects from Canva or external sources.
Adding Apple Music to Canva isn’t just about enhancing your designs; it’s about creating an immersive experience that resonates with your audience. With tools like Apple Music Converter, you can unlock a world of creativity, turning simple projects into captivating works of art.
So, take that leap—add rhythm to your visuals and make your designs unforgettable.